
Views: 0 Author: Site Editor Publish Time: 2026-09-23 Origin: Site


Article Intro: Jewelry packaging sizes are settled by three things that have nothing to do with taste: the footprint of the piece, the clearance the insert needs, and the carton the finished package travels in. Get the first two right and the third follows; skip them and the specification drifts into re-cut trays, second samples and cartons that no longer fit the pallet. This guide covers the size bands buyers work from, internal versus external dimensions, where size specifications fail in production, and how stock sizes compare with custom tooling while a range is still young.
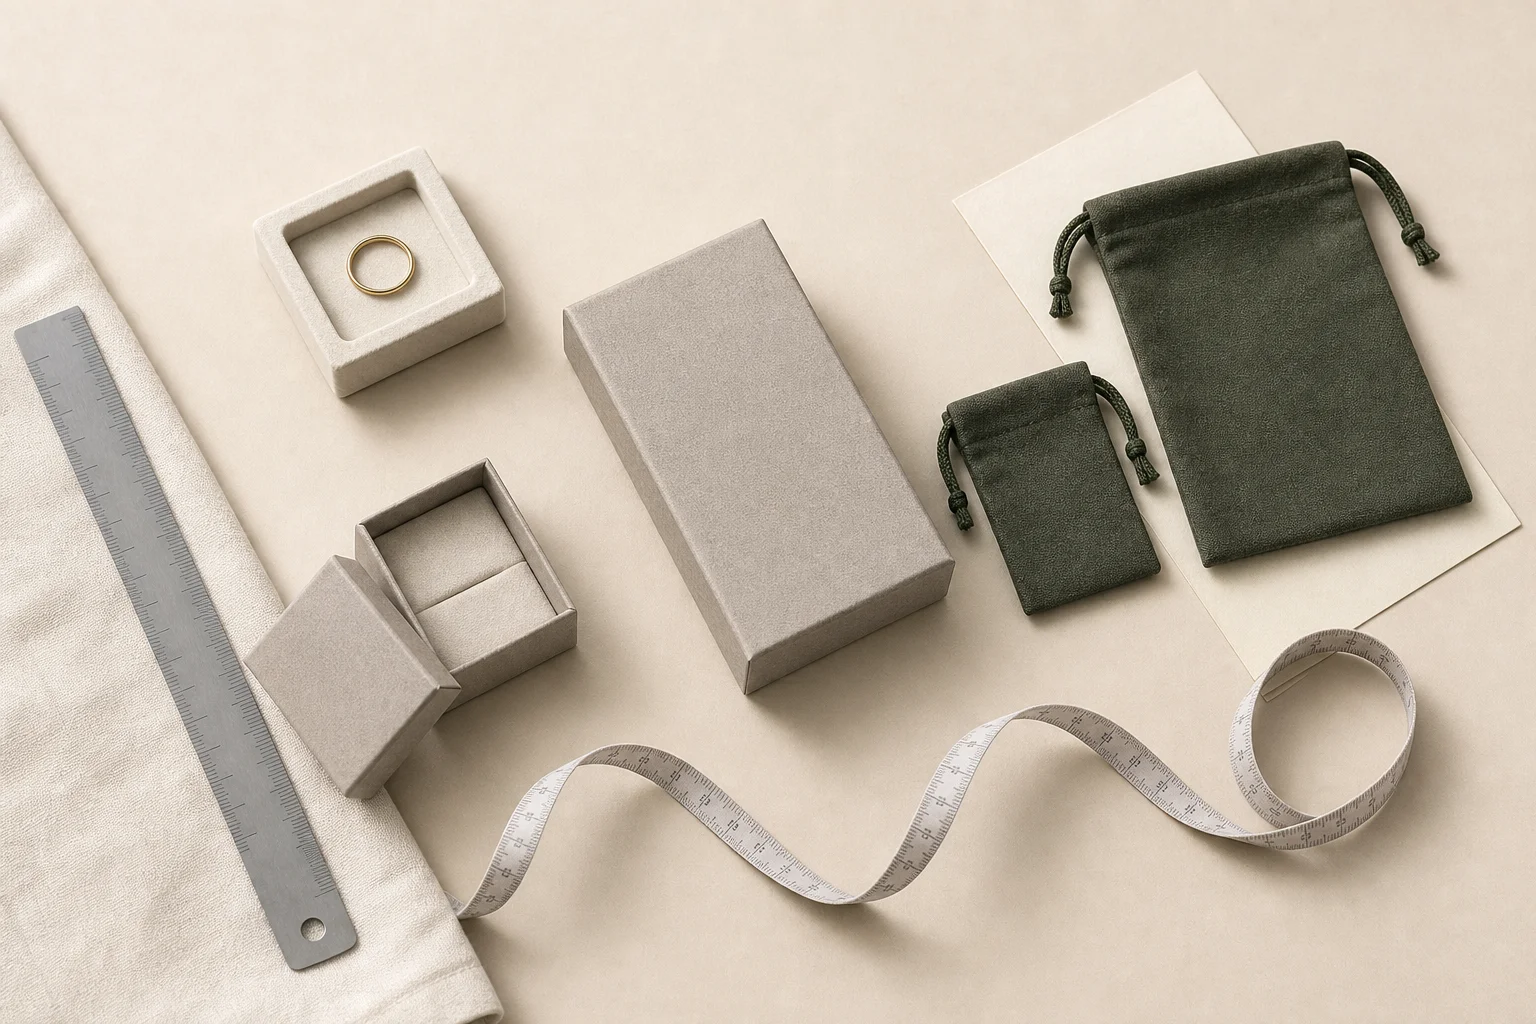
Four formats at four sizes — the ruler and the tape are the specification, not the decoration
A jewelry packaging size specification is the written set of dimensions that defines a package: the external footprint, the internal cavity, the depth, the clearance between components, and the tolerance allowed on each. It also names the piece the package is built for and the packing unit it goes into, because those two facts decide which numbers can move.
Most sizing problems are not design problems: they appear because only one of those layers was written down, usually the external one, and the rest were inferred at the packing bench.
Quick Answer: Size the package from the piece, not from a catalogue. Measure the jewelry as it will sit — on its card, tray or insert — add the room the lining needs on every side, then choose the nearest band whose external dimensions still fit your carton and parcel limits. A pouch is dimensioned the same way but flat.
Sizes in the trade cluster into bands rather than single numbers, and most buyers are better served by the nearest band than by a bespoke dimension.
Jewelry type | Common box size | Common pouch size | What sets the size |
|---|---|---|---|
Solitaire ring | 5 × 5 cm to 6 × 6 cm | 5 × 7 cm | Insert slot holds the band upright |
Earring pair or studs | 6 × 7 cm | 7 × 10 cm | Width of the card the pair is mounted on |
Pendant or short chain | 9 × 7 cm | 10 × 10 cm | How tightly the chain coils |
Bracelet or bangle | 9 × 9 cm | 10 × 12 cm | The bracelet's rigid diameter |
Necklace, single strand | 20 × 7 cm | 13 × 18 cm | Length of the chain laid flat |
Watch | 10 × 10 cm | 10 × 15 cm | The case plus the pillow it rests on |
Gift set, three pieces and up | 20 × 15 cm and larger | 15 × 20 cm and larger | Number of trays inside |
Two bands carry most of the demand. The compact 9x7cm jewelry box suits a pendant or a short chain, while the big jewelry box that suits a set is a different engineering problem: the same construction in a larger footprint uses more board, needs a thicker wall to hold its shape, and takes up more of the carton, so the unit cost and the freight both move. A big chain jewelry box is sized by the diagonal of the piece rather than its length, and its cavity has to clear the metal when the lid closes, whereas bulk small jewelry gift boxes are usually bought inside the compact bands, where existing tooling keeps the volume order economic.
Inch-based briefs are the other common pattern: a custom jewelry packaging 6 inch request is a box in the presentation band rather than a small one, so convert the number into centimetres and state which dimension it refers to.
Brand Background: The buyer is a France-based jewelry brand selling through retail partners and its own counter display, and it commissioned a 1,000-set packaging combination: a printed box, an inner bag and a closure sticker, assembled as one retail unit.
The Packaging Challenge: All three components had been dimensioned separately, and on paper each was correct. What the specification never recorded was the clearance where they meet — the margin the sticker needs to sit on the inner bag without covering its opening. The failure was not in any single dimension; it was in the interface between two of them.
The Procurement Decision: Before production the set was assembled at the packing station instead of being inspected as loose parts, and the problem surfaced at once: the sticker overlapped the bag opening, so the bag could not be closed cleanly and the set could not be presented as approved. Rather than produce the run and correct it later, the supplier repositioned the sticker, adjusted its size to keep the opening clear and sent the revised layout for approval. In the same review it flagged the €53 customs duty in advance, so the landed cost would not move after dispatch.
The Solution: The sticker was repositioned and re-sized on the approved layout, the set was assembled again with each detail confirmed by photograph at the packing stage, and the duty position was confirmed before the goods left.
Measurable Results: The order closed at $858 for 1,000 sets and arrived complete and assembled exactly as approved, with no rework and no adjusting claim at the destination. The value of the check was not the money it saved: a failure mode with no home in the specification was caught while it could still be fixed by moving one element a few millimetres on a layout.
The pattern generalises: on a multi-component set, the dimension that fails is rarely the outer one but the fit between two parts specified alone.
Every package has two sets of numbers, and the two are confused constantly in briefs and quotations.
Dimension | What it controls | What a wrong figure costs |
|---|---|---|
External footprint | Whether the package fits the carton, shelf and parcel band | Oversized cartons, higher freight, or a shelf it will not sit on |
Internal cavity | Whether the piece sits still once the lid is closed | Movement in transit, surface scratches, returns |
Insert depth | Whether the lid clears the piece | Lid pressure on the metal, or a lid that will not seat flush |
Lining allowance | How much of the tooled cavity survives the lining | A piece that fitted the bare tray, not the finished one |
Component clearance | Whether a sticker or sleeve can sit without covering an opening | Rework at the packing station |
The lining allowance is the one buyers most often miss: a cavity is tooled to its bare dimension and then reduced by whatever goes inside it, so a lining that is thick on every wall takes that measurement off each side and closes the usable space by roughly twice that figure. The delivered internal dimension is therefore smaller than the number on the tooling drawing, and the specification has to say which of the two it quotes.
Tolerance behaves differently by format: a rigid board box holds a dimension closely, while a soft format compresses and its gather takes up height, so a pouch quoted at a given size delivers less usable space than the same number would in a box. Specify tolerance for the two separately, and quote a large velvet jewelry pouch, a tiny cotton jewelry pouch or cotton bags in the 15x20cm band as flat dimensions with the usable space stated alongside.
Six habits account for most of the size failures that reach a supplier's desk.
Measuring the piece loose. A ring measured off the finger is not the same object as a ring on a card: the mount is part of its footprint.
Forgetting the lining. The tooled cavity is not the delivered cavity, so state the internal dimension after the lining.
Mixing units in one document. Millimetres, centimetres and inches in one specification invite a conversion error at the factory end. Convert once and state the unit on every line.
Designing the carton last. Carton count, pallet plan and freight all follow the finished external size, so derive them from that number.
Rounding up as insurance. Extra millimetres are paid for twice: in board or fabric, and again on every unit shipped, because volumetric weight follows the external footprint.
Not filing the approved size. A reorder should be opened against archived dimensions rather than a photograph, since a soft format can drift between lots even when the nominal size is unchanged.
None of the six requires a new format or a larger budget, only a size sheet that carries four numbers instead of one.
Working inside an existing size band is a trade-off rather than a downgrade.
Advantages of a standard size system:
Existing tooling carries no development cost, which lowers the quantity at which an order becomes viable.
Inserts, trays, cartons and labels stay interchangeable, so a new piece does not force a new packing method.
Reorders are faster and freight is predictable, because the finished external size does not change with each new style.
Drawbacks of a standard size system:
A band that is close to right rather than right leaves the piece with room to move.
It limits statement sizes, which is where presentation-format collections differentiate themselves.
A near-miss still requires custom tooling, so the saving is lost once the band is abandoned.
Stock sizes are shared, so the same footprint appears in competing ranges unless the interior and finishing differentiate.
The route depends on how far the piece sits from the nearest band, and the difference is minimums rather than quality.
Route | What changes | Typical minimum | Lead time |
|---|---|---|---|
Nearest stock size | The mark only — print, foil or a label | Logo printing starts at a few hundred units | Days, since only marking changes |
Custom size on an existing construction | New cut dimensions on the same construction | From a few hundred units, rising with the format | 3-4 weeks after approval |
Fully custom tooled format | A new die or mould, plus custom-dyed fabric | 1,000-5,000 units where dyeing is involved | 3-4 weeks after approval, plus a sample |
Unit economics follow the size: at typical 2026 factory quotes a custom rigid box lands around $1.60-$2.10 per unit at 1,000 pieces, easing toward roughly $0.90 at 10,000, while a pouch in a stock colour starts far lower at logo-print volumes (typical 2026 figures, illustrative). That is why size and quantity belong in one decision — moving a brief into an existing band can do more for the landed cost than negotiating the unit price, and the wider framework is in the 2026 B2B sourcing guide for small and growing brands.
Q: What size box do I need for a necklace?
A: Start from the chain laid flat. A single strand that coils neatly usually sits in a 13 × 18 cm pouch, while a longer chain or a layered set moves into the presentation band. Measure the piece coiled as it will be packed.
Q: Are box and pouch sizes quoted the same way?
A: No. A box is normally quoted on its external footprint unless the internal is stated, while a pouch is quoted flat before the gather is drawn, so the same number means different usable space. Ask which dimension is quoted.
Q: Can I order a custom size at a low quantity?
A: Often yes, if the size can be cut from an existing construction rather than tooled from scratch. Logo printing starts in the low hundreds, while dedicated tooling and custom-dyed fabric generally need 1,000-5,000 units, with production 3-4 weeks after approval.
Q: Should I round my sizes up just to be safe?
A: Only where the piece genuinely needs the room. Because board, fabric, carton count and volumetric weight all follow the external dimensions, unneeded millimetres are paid for on every unit shipped. Specify the internal space the piece needs and keep the tolerance as the safety margin.
Jewelry packaging sizes work as a chain rather than a single number: the piece sets the cavity, the cavity plus the lining sets the internal dimension, the internal dimension plus the wall sets the external footprint, and the external footprint sets the carton, the pallet and the freight. The bands in this guide are a starting point for that chain, and the discipline that keeps it intact is writing down four figures instead of one — external size, internal size, lining allowance and tolerance. The failure mode to watch for is not an obviously wrong box but the interface between two components that were each specified correctly on their own, which is why an assembly check at the packing stall is worth more than a second inspection of loose parts.
Utouch Packaging produces custom jewelry packaging across the size bands described here — rigid boxes, fabric pouches, insert trays and multi-piece sets — with external and internal dimensions confirmed against a sample before production. For wholesale and custom enquiries, visit the Utouch Packaging contact page or reach the export team through Xiamen Yu Touch Imp. & Exp. Co., Ltd.
